
What Are the Steps to Building a Custom Home?

Kevin Clark
• 10 min read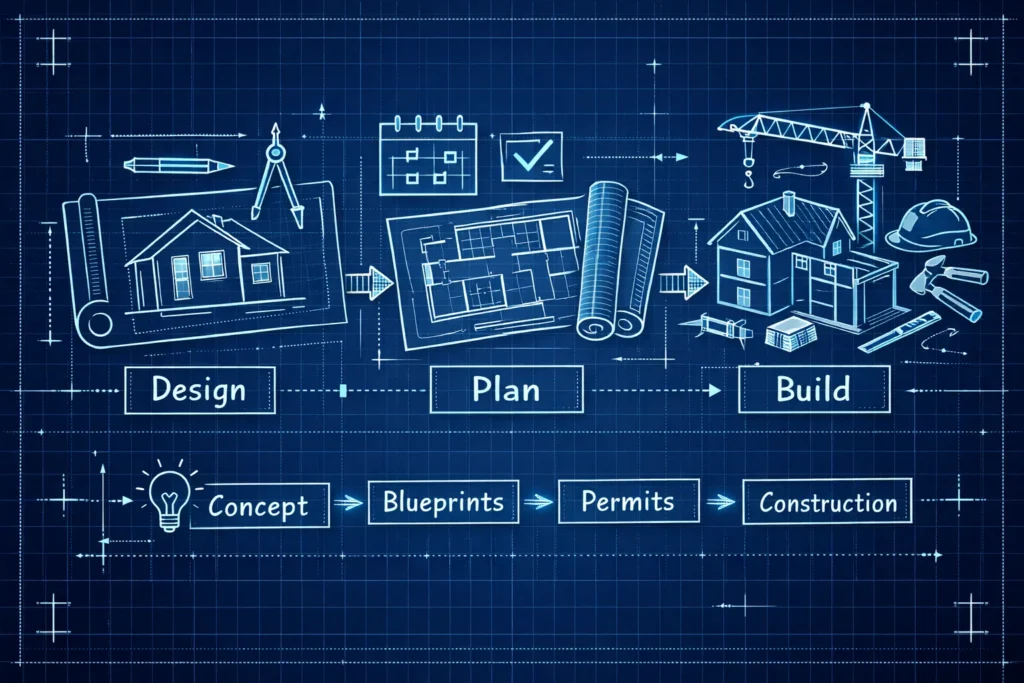
What are the steps to building a custom home? Start by setting a realistic budget and evaluating the lot—early choices shape your schedule, scope, and overall cost.
This guide walks through the custom home process from pre-construction planning to final move-in. It includes a timeline, a design-and-build checklist, and a cost breakdown that highlights common drivers like grading, retaining walls, and septic work. It also explains construction loans and when to consider them so you can manage budget and schedule choices.
What you need to know
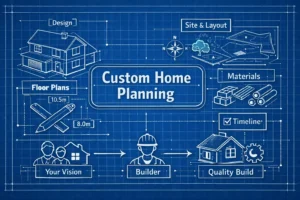
Before drawings or permits, focus on three essentials: an accurate budget, the right lot, and an aligned team. Site conditions and lot selection determine many costs, so confirm topography, soil, utilities, setbacks, and any homeowners association rules early. Lender preapproval plus early input from a builder and designer keeps scope and allowances realistic and reduces late change orders.
Break the project into clear phases—design and permitting, site work and foundation, then framing, systems, and finishes—so inspections and payments tie to visible milestones. Final inspections, punch lists, and the certificate of occupancy complete the schedule and clear the way for move-in. Clear decision deadlines and a documented schedule help prevent costly delays.
1. Plan, budget, and pick the right lot
Begin with a practical budget based on comparable builds and realistic allowances; the goal is to match your design wish list to what the lot will support. Secure lender preapproval, then bring a builder and an architect or designer into conversations before plans are finalized so estimates reflect site constraints. Pre-construction commonly takes one to three months and sets expectations for schedule, site work, and major selections.
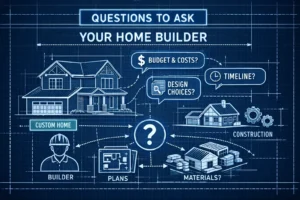
Vet professionals by checking licenses, insurance, references, and recent project photos, and by reviewing sample contracts and warranties. Ask about typical timelines, change-order handling, and how allowances are managed so you understand how upgrades or substitutions affect cost. When possible, choose a fixed-price contract or a detailed allowance schedule to reduce surprises during construction.
Use a lot checklist to confirm topography, soil reports, utility access, setback rules, homeowners association covenants, and floodplain status. Common site costs include grading (roughly $3,000 to $15,000), retaining walls ($5,000 to $30,000), and septic systems ($8,000 to $25,000); include permitting and installation time. Budget a 10 to 20 percent contingency for site unknowns and confirm your timeline after testing and utility approvals. For a broader look at typical line-item costs, see a complete cost breakdown.
With a clear budget, team, and lot, move into detailed design and permit planning so long-lead items and municipal requirements can be scheduled. These steps will firm up your timeline and give lenders and trades the information they need.
2. Design, approvals, and permitting
Design choices set most of the budget and reveal which items require extra lead time, so make key structural and cabinet layout decisions early. Municipal permitting provides the first firm dates for inspections and occupancy, and coordinated plan review reduces surprises. Expect design development to run one to three months while plans, finishes, and allowances are finalized.
Allowances let work proceed when every finish isn’t chosen, but delaying decisions increases the risk of change orders. Use a finish-selection calendar—weeks 1 to 4 for flooring and cabinet layout, weeks 4 to 8 for countertops and plumbing fixtures, and weeks 8 to 12 for paint, lighting, and appliances—to keep choices on schedule. Locking the big items early prevents rework and keeps costs predictable.
Permit requirements vary but commonly include zoning or site-plan approval, erosion control, and building, electrical, plumbing, and mechanical permits. Municipal review often takes two to six weeks for a standard building permit; specialized approvals or variances can take longer. HOA pre-approval, engineering reports, and utility hookups are frequently required before permits issue.
John Henry Homes reduces review time with pre-submittal checks, coordinated plan corrections, and permit expediting, and we pre-book inspections to protect your timeline. With approvals in hand, site preparation and the foundation go next and become the first visible signs of construction.
3. Site work to framing: turning plans into a structure
Once permits are secured, the first tangible progress appears on the lot: clearing, grading, foundation excavation, and then framing and weatherproofing. These phases typically take two to ten weeks depending on site work and home size and give the first clear signs of momentum. Proper sequencing and early inspections reduce the chance of delays. For additional perspective on typical build timelines and variables that affect duration, consult resources on how long it takes to build a custom home.
Site prep includes clearing, grading, erosion control, and excavation for a slab, crawlspace, or basement. Inspections occur before pours and after forms are set; expect a mobilization invoice at the start and another at the foundation pour. If you’re on construction financing, this foundation phase is often the first draw, so confirm your lender’s documentation requirements ahead of time.
Framing raises the structural skeleton—walls, floor systems, roof trusses, and sheathing—followed by windows and exterior doors to weatherproof the house. Attend the framing inspection, take photos, and verify wall straightness, correct truss placement, and secure sheathing. Once openings are sealed, the project moves into mechanical rough-ins.
4. Rough-ins, systems, and mid-build inspections
With the shell closed, mechanical rough-ins install the pipes, wiring, and ducts that will be concealed behind walls. Typical sequencing is plumbing, then electrical, then HVAC, though local practices can vary. Inspectors focus on concealed work, so schedule and pass those inspections before insulation and drywall close the walls.
During mid-build walk-arounds, look for common red flags: plumbing slope and pressure, proper electrical box fill and cable fastening, duct support and clearances, sealed fire-stopping at penetrations, and anchored mechanical equipment. Watch for standing water in drain lines, open splices, crushed refrigerant lines, or unsealed penetrations that can cause rework later. Use a checklist at each inspection to catch issues before drywall hides them.
Many buyers use a construction-to-permanent loan with interest-only draws during the build and a final conversion to a mortgage; lenders require draw inspections and documentation at each milestone. Typical lender requirements include signed invoices, lien waivers, inspection reports, and an updated cost breakdown. A sample draw schedule might be 10 percent at permit/lot, 20 percent at foundation, 30 percent at framing, 25 percent at rough-ins, and 15 percent at final occupancy, with inspections tied to each draw. Learn more about construction-to-permanent loans and how construction loans work.
Coordinate subcontractors by scheduling inspection windows, holding short pre-inspection huddles, and keeping photo records with signed trade sign-offs. Document inspections in blocks to avoid rework and delayed draws. Once systems are signed off, the project moves into finishes and the final punch list.
5. Finishes to final checks: the last mile
Finishes often take the most calendar time because they are sequential and detail oriented, and lead times for cabinets, countertops, and specialty items can create bottlenecks. Lock selections before crews arrive to prevent hold-ups, and confirm order and delivery dates well ahead of installation. Decisions at this stage directly affect your move-in date.
Interior finishes typically follow a set sequence: hang and finish drywall, prime and paint, install trim and millwork, lay flooring, set cabinets and countertops, then install fixtures and final hardware. Expect two to four months for these tasks on average, depending on home size and any change orders. Treat allowances as line-item estimates—get at least three supplier quotes, compare material plus installation, and budget a 10 to 15 percent contingency for upgrades or site adjustments.
Exterior finishes and basic landscaping tie to weatherproofing and certificate of occupancy requirements; siding, roofing, driveways, grading, and gutters must be complete or safely staged. Prioritize safety and weatherproof items on the punch list first, then address cosmetic fixes. Use photographed, dated checklists and agree on realistic repair windows to close out outstanding items efficiently.
6. Final walkthrough, closeout, and moving in
The closeout phase connects paperwork to practical move-in details so your handoff is predictable and low stress. Final inspections, the certificate of occupancy, and the builder’s punch list must be complete before keys transfer, and lender final draws or retainage typically happen at this point. Coordinate utility transfers and final walk-throughs so everything lines up on closing day. You can also schedule a new construction home inspection to confirm final items before closing.
Before unpacking, run a focused move-in check to catch surprises after boxes are open: confirm utilities, test HVAC, and check main drains and toilets. Use a simple checklist during your walkthrough to verify operation of systems and fixtures. A practical list includes the items below.
- Certificate of occupancy: confirm issuance and provide copies to lender and insurer
- Electrical systems: verify lights, outlets, breakers, GFCIs, and smoke detectors operate correctly
- Plumbing: confirm no leaks, hot water present, and drains flow properly
- Appliances & garage: ensure appliances are installed and operating; garage door opener programmed
- Exterior & site work: inspect grading, gutters, driveways, and final landscaping
Know your warranty coverage and how to log issues with John Henry Homes before you move in. Typical protections include a one-year workmanship warranty, manufacturer warranties for appliances and finishes, and longer structural coverage; keep serial numbers and dates handy. Create a simple maintenance plan, schedule 30/60/180 day follow-ups, and review our Frequently Asked Questions | John Henry Homes for warranty details and common post-close procedures. You can also contact John Henry Homes to request a lot review or download a starter build checklist.
What are the steps to building a custom home: next moves
You do not have to navigate these stages alone. With more than 30 years building in Greater Cincinnati and Northern Kentucky, John Henry Homes offers personalized custom design, rapid move-in options, integrated smart-home features, and energy-efficient construction. For a deeper walkthrough of the process, see our Step By Step Custom Home Building Guide. Schedule a free lot-evaluation and design consult with a John Henry Homes specialist, or book a self-guided NterNow tour of our move-in-ready homes to compare finishes and floor plans in person. Start the process today and move from planning to foundation with confidence.


Related Articles

New Construction Homes Cincinnati: 5 Key Benefits

How to Choose Custom Home Builders in Cincinnati Ohio

Top Questions to Ask Your Custom Home Builder
Want to know how to buy and sell a home effectively
Get exclusive access to the best homes on the market by signing up today.